Crawlspace Encapsulation Blueprint
Check out our six-step blueprint for crawlspace encapsulation projects. Learn what needs to be done to make your crawlspace a clean and healthy environment.
If you’re ready to have your crawlspace encapsulated, then you’re heading in the right direction! We have created this step-by-step guide to show you what needs to be done to make your crawlspace clean and dry, creating a healthy environment for your family.
Breathe Easy! We’ve got you covered.
1. Clean and Treat
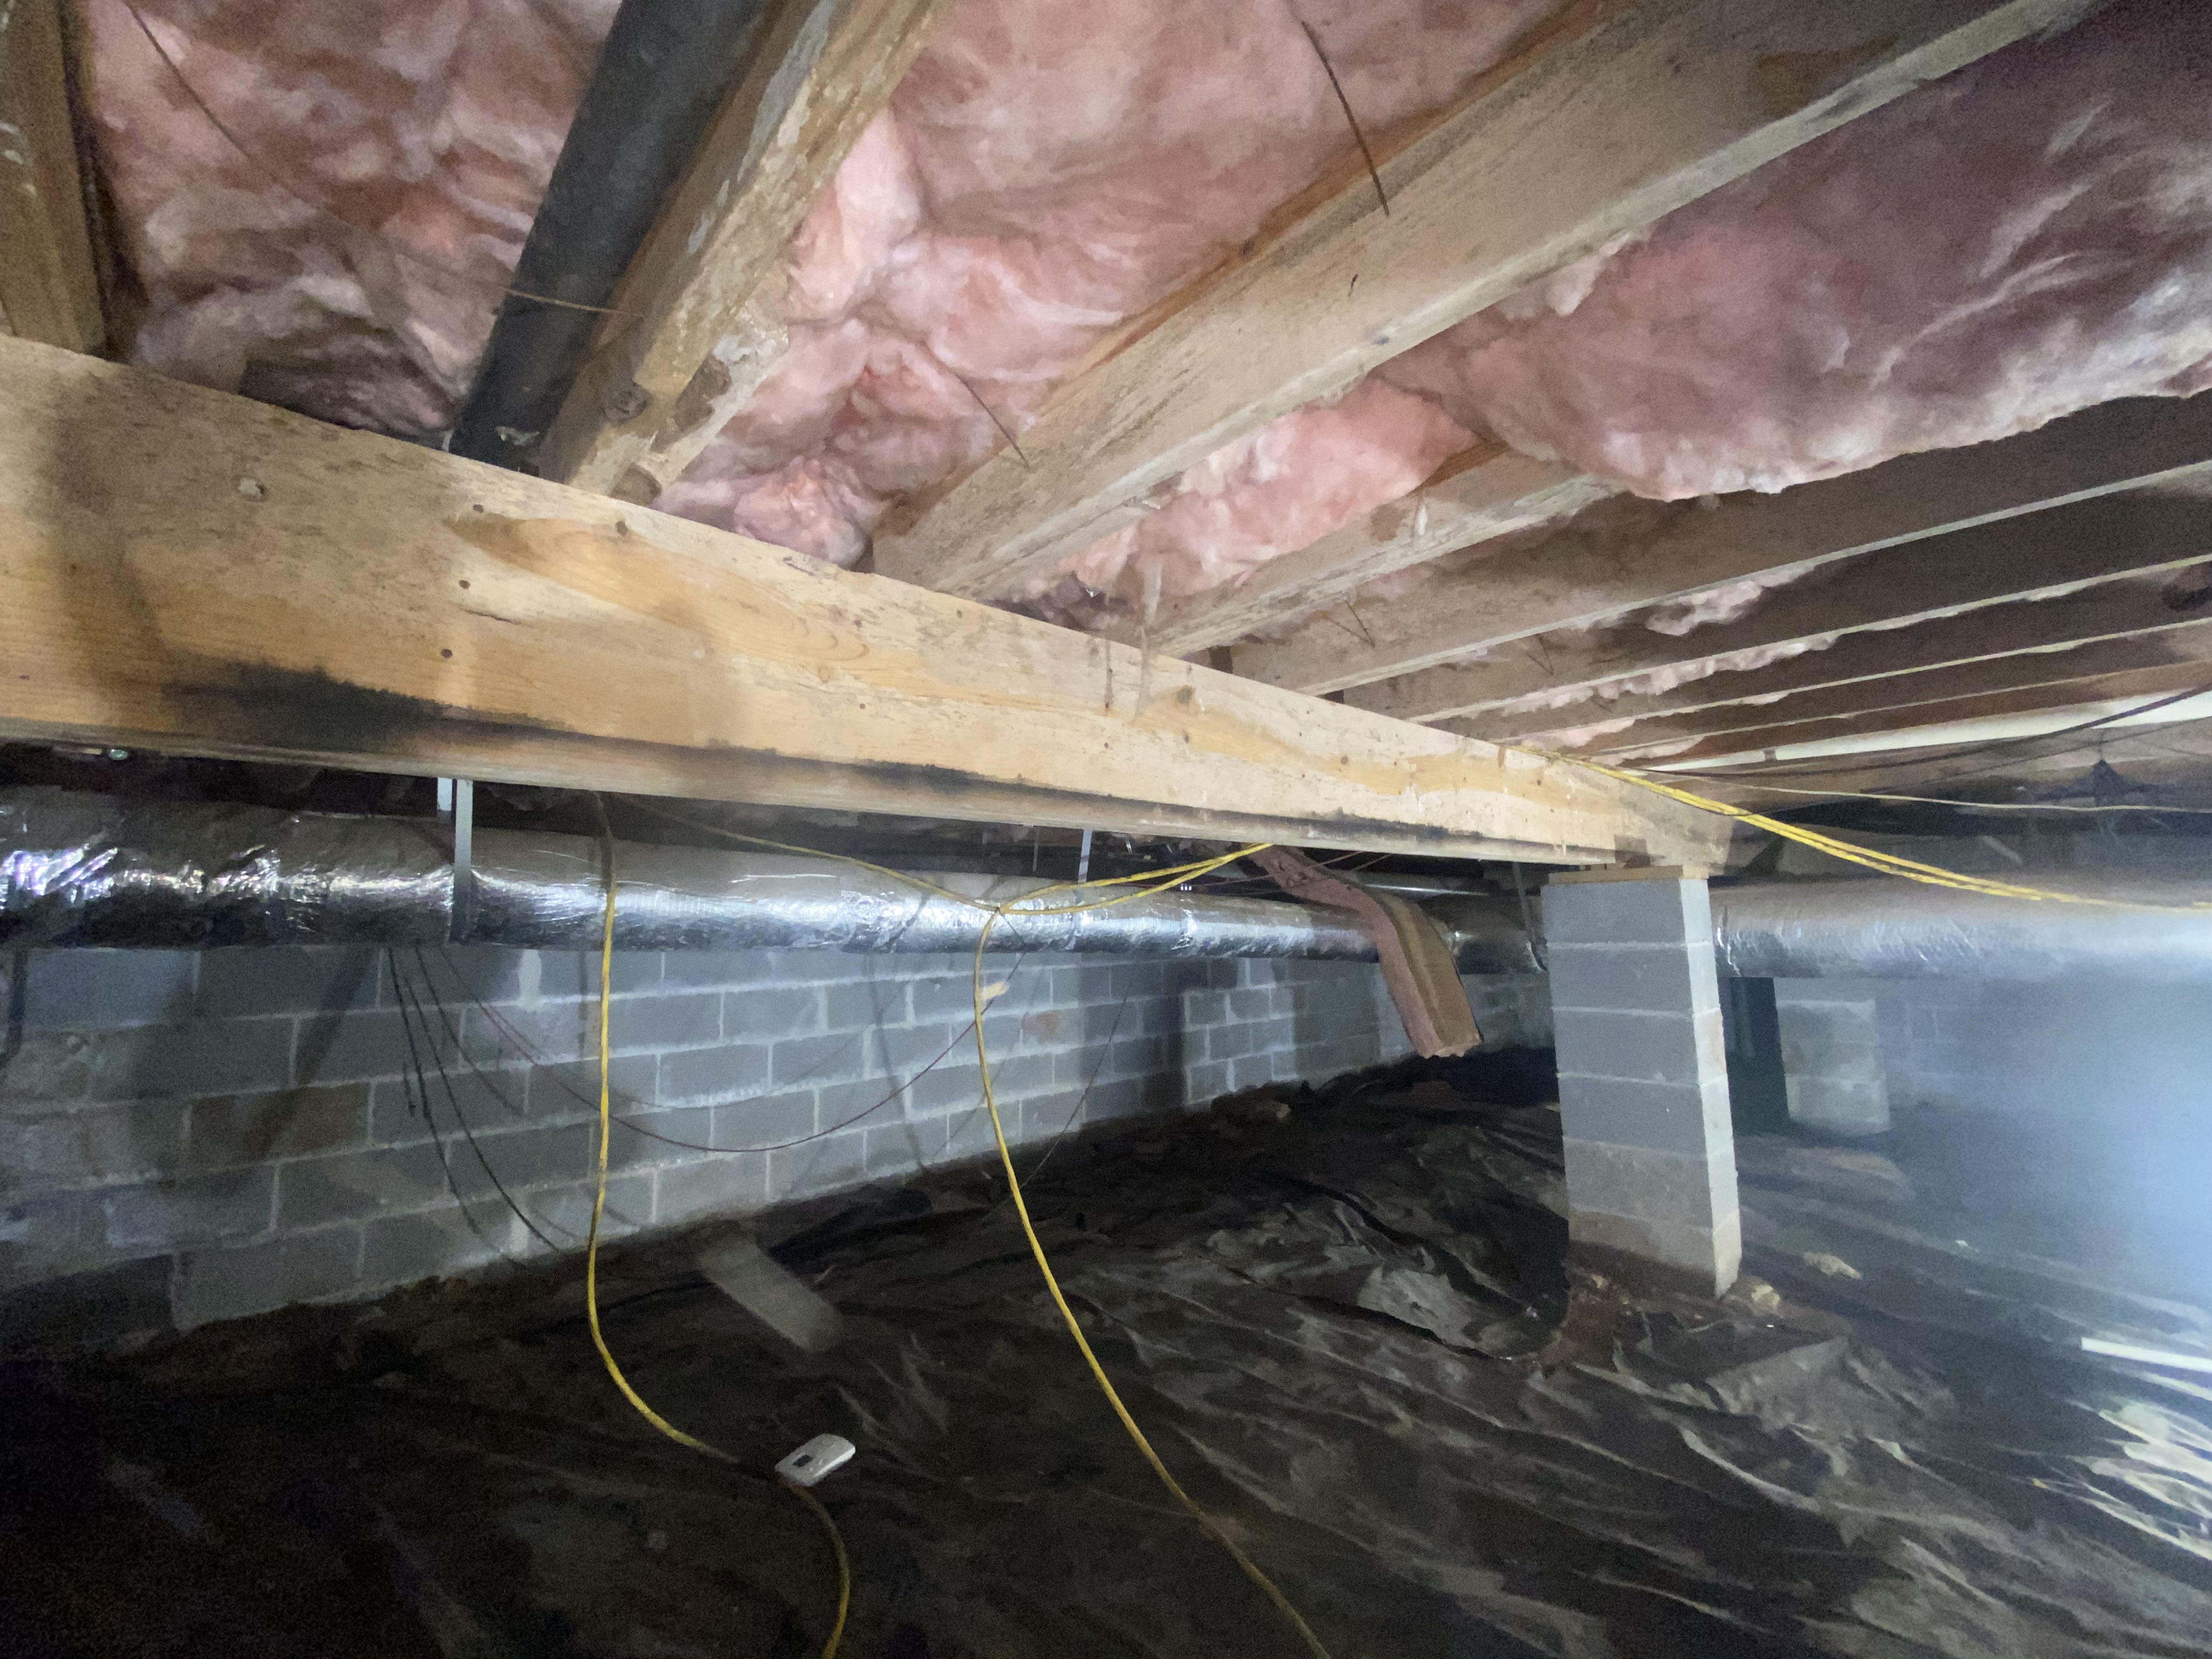
- Remove all of the insulation from the underside of the floor system.
- Remove old plastic and debris from the ground.
- Treat and remove any visible mold growth from the surfaces following IICRC mold remediation standards.
2. Insulate and Seal
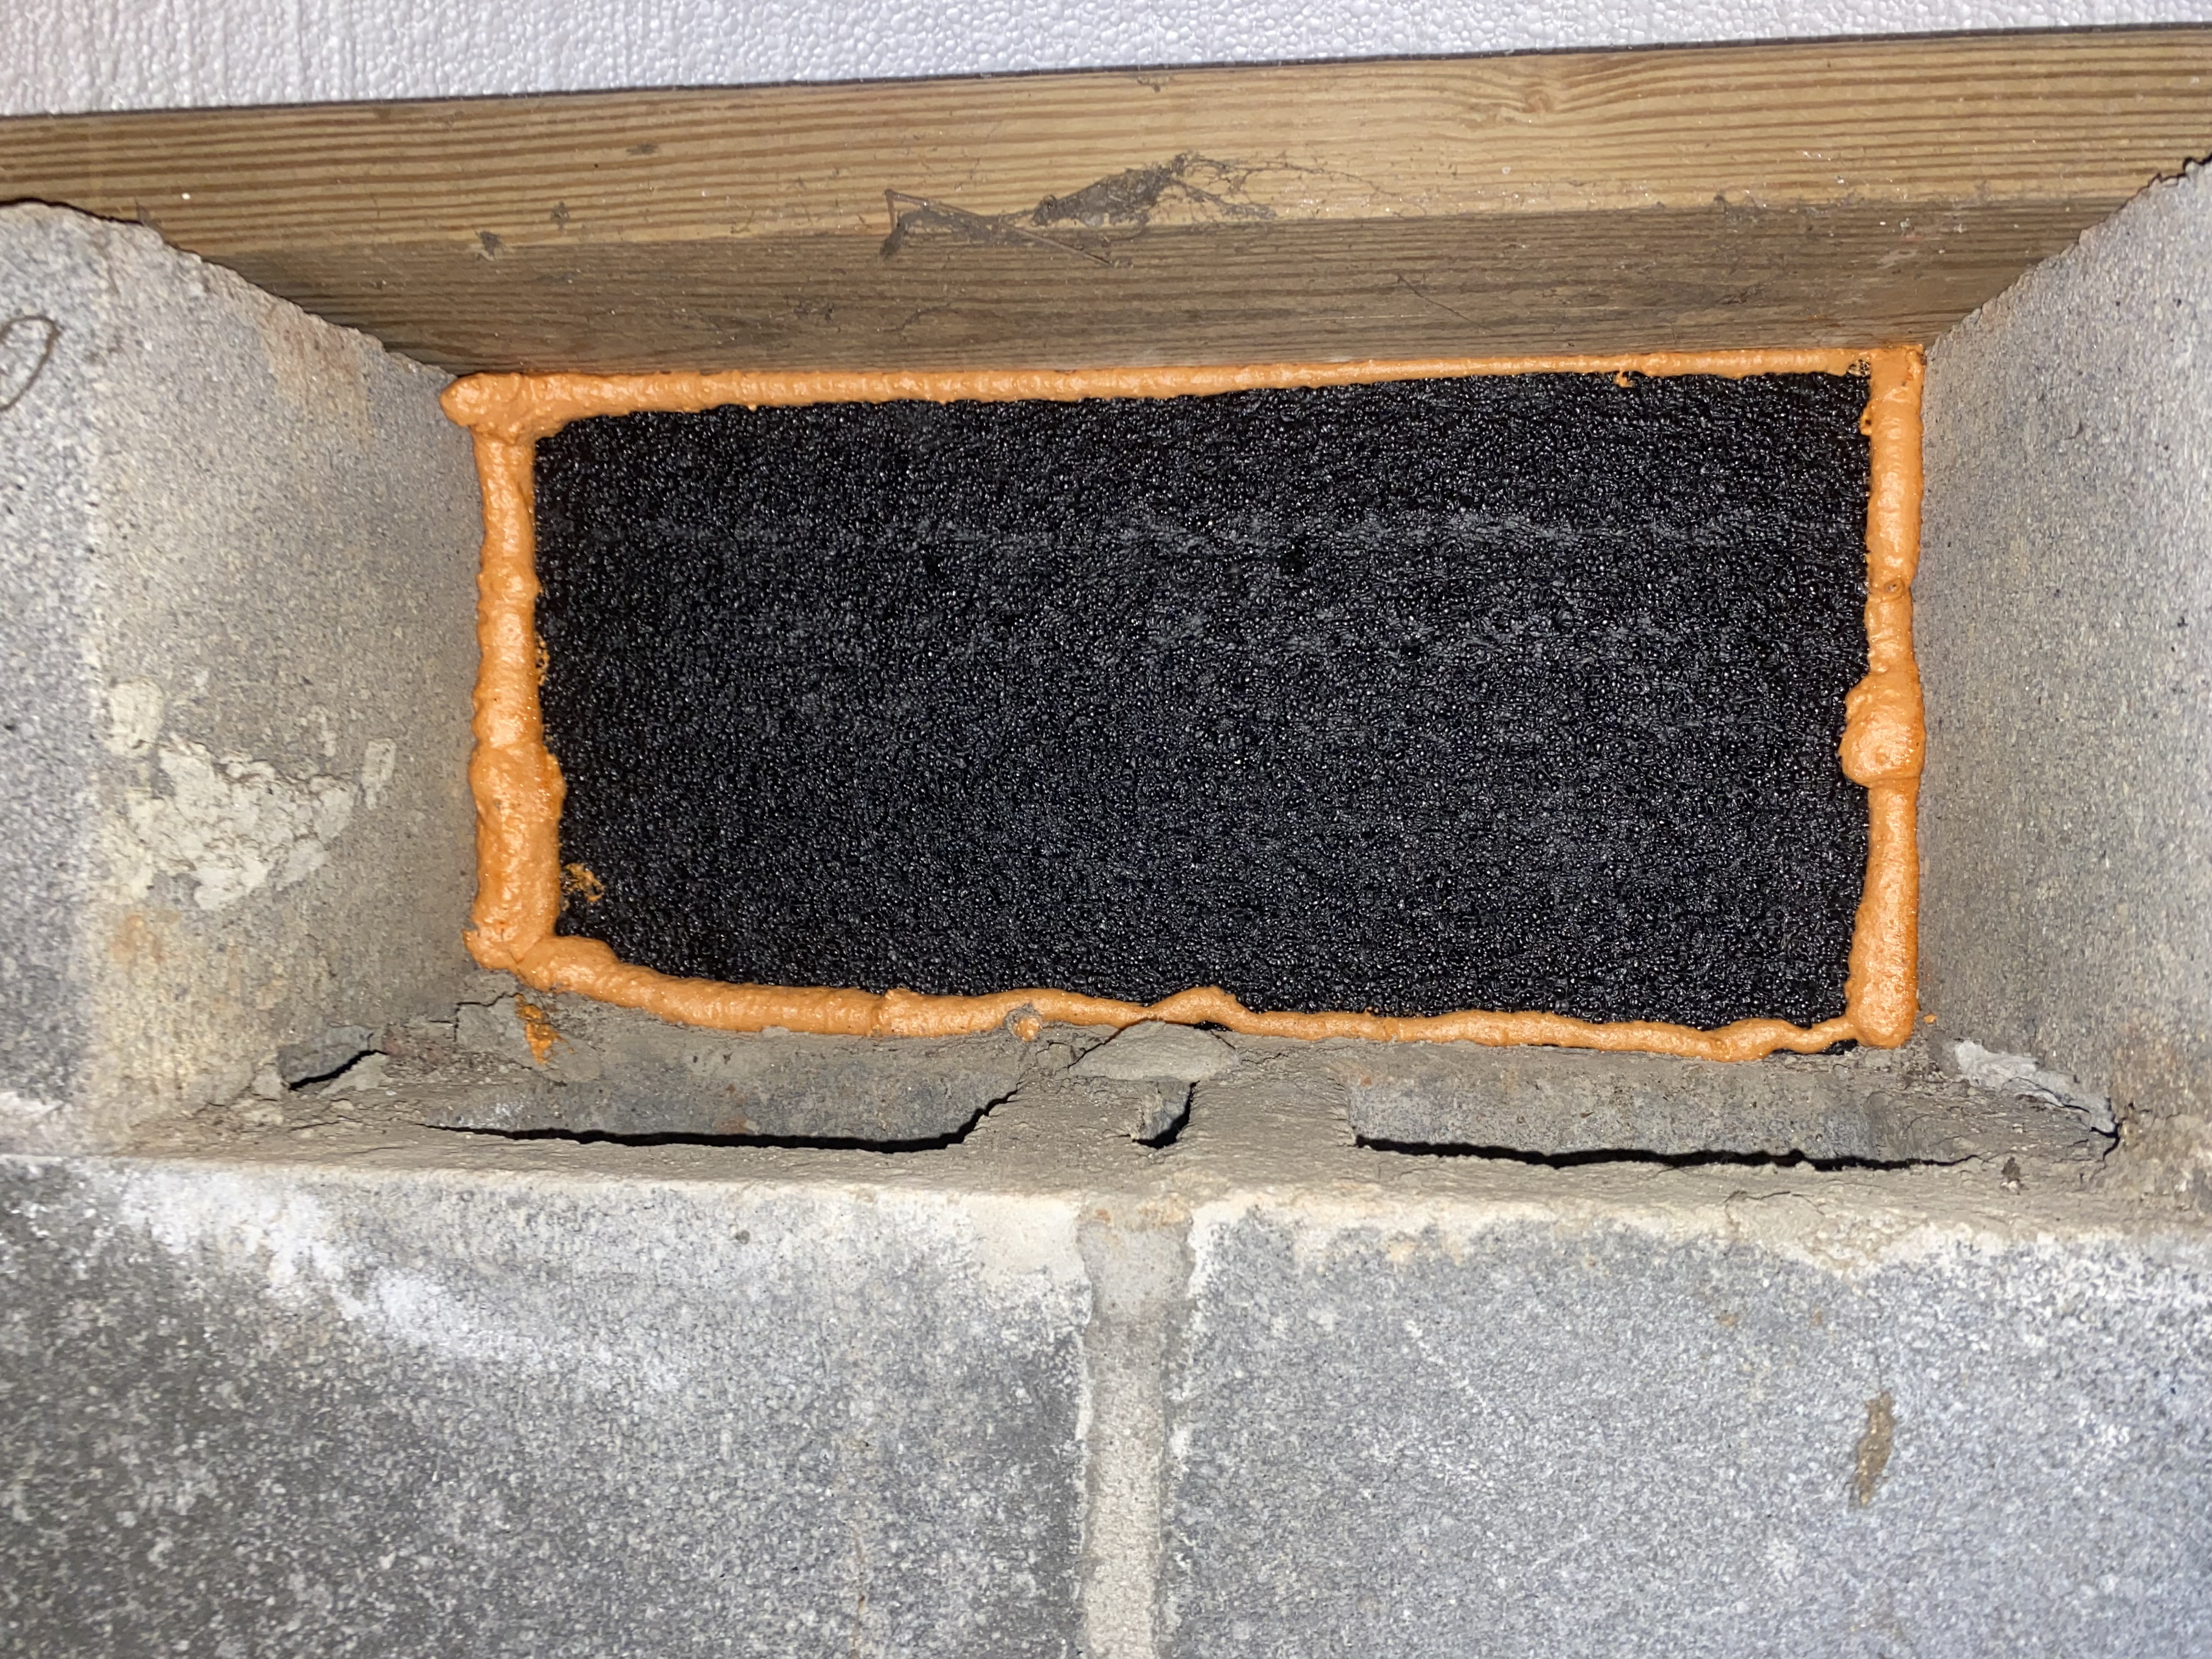
- Seal off all foundation vents with foam board insulation panels and foam spray. This prevents outside (humid) air from entering the crawlspace and is required for encapsulation of the space.
- Insulate the rim boards on the perimeter walls with foam board insulation panels and foam spray. This will prevent condensation from forming on the surface of the rim boards.
- Seal large openings in the underside of the floor system to discourage air bypass into living spaces.
3. Install Sub-Membrane Piping
- When a crawlspace is encapsulated, that raises the potential for elevated levels of radon inside of the home.
- We suggest to install corrugated piping below the membrane for future connection to a depressurization system. The piping will encourage air flow below the membrane, allowing extraction by a depressurization fan (if installed).
- If the piping is not installed and the home tests high for radon in the future, the vapor barrier will have to be cut open and repaired. This is why installing the piping ahead of time (for a low cost) could help to save a lot of money.
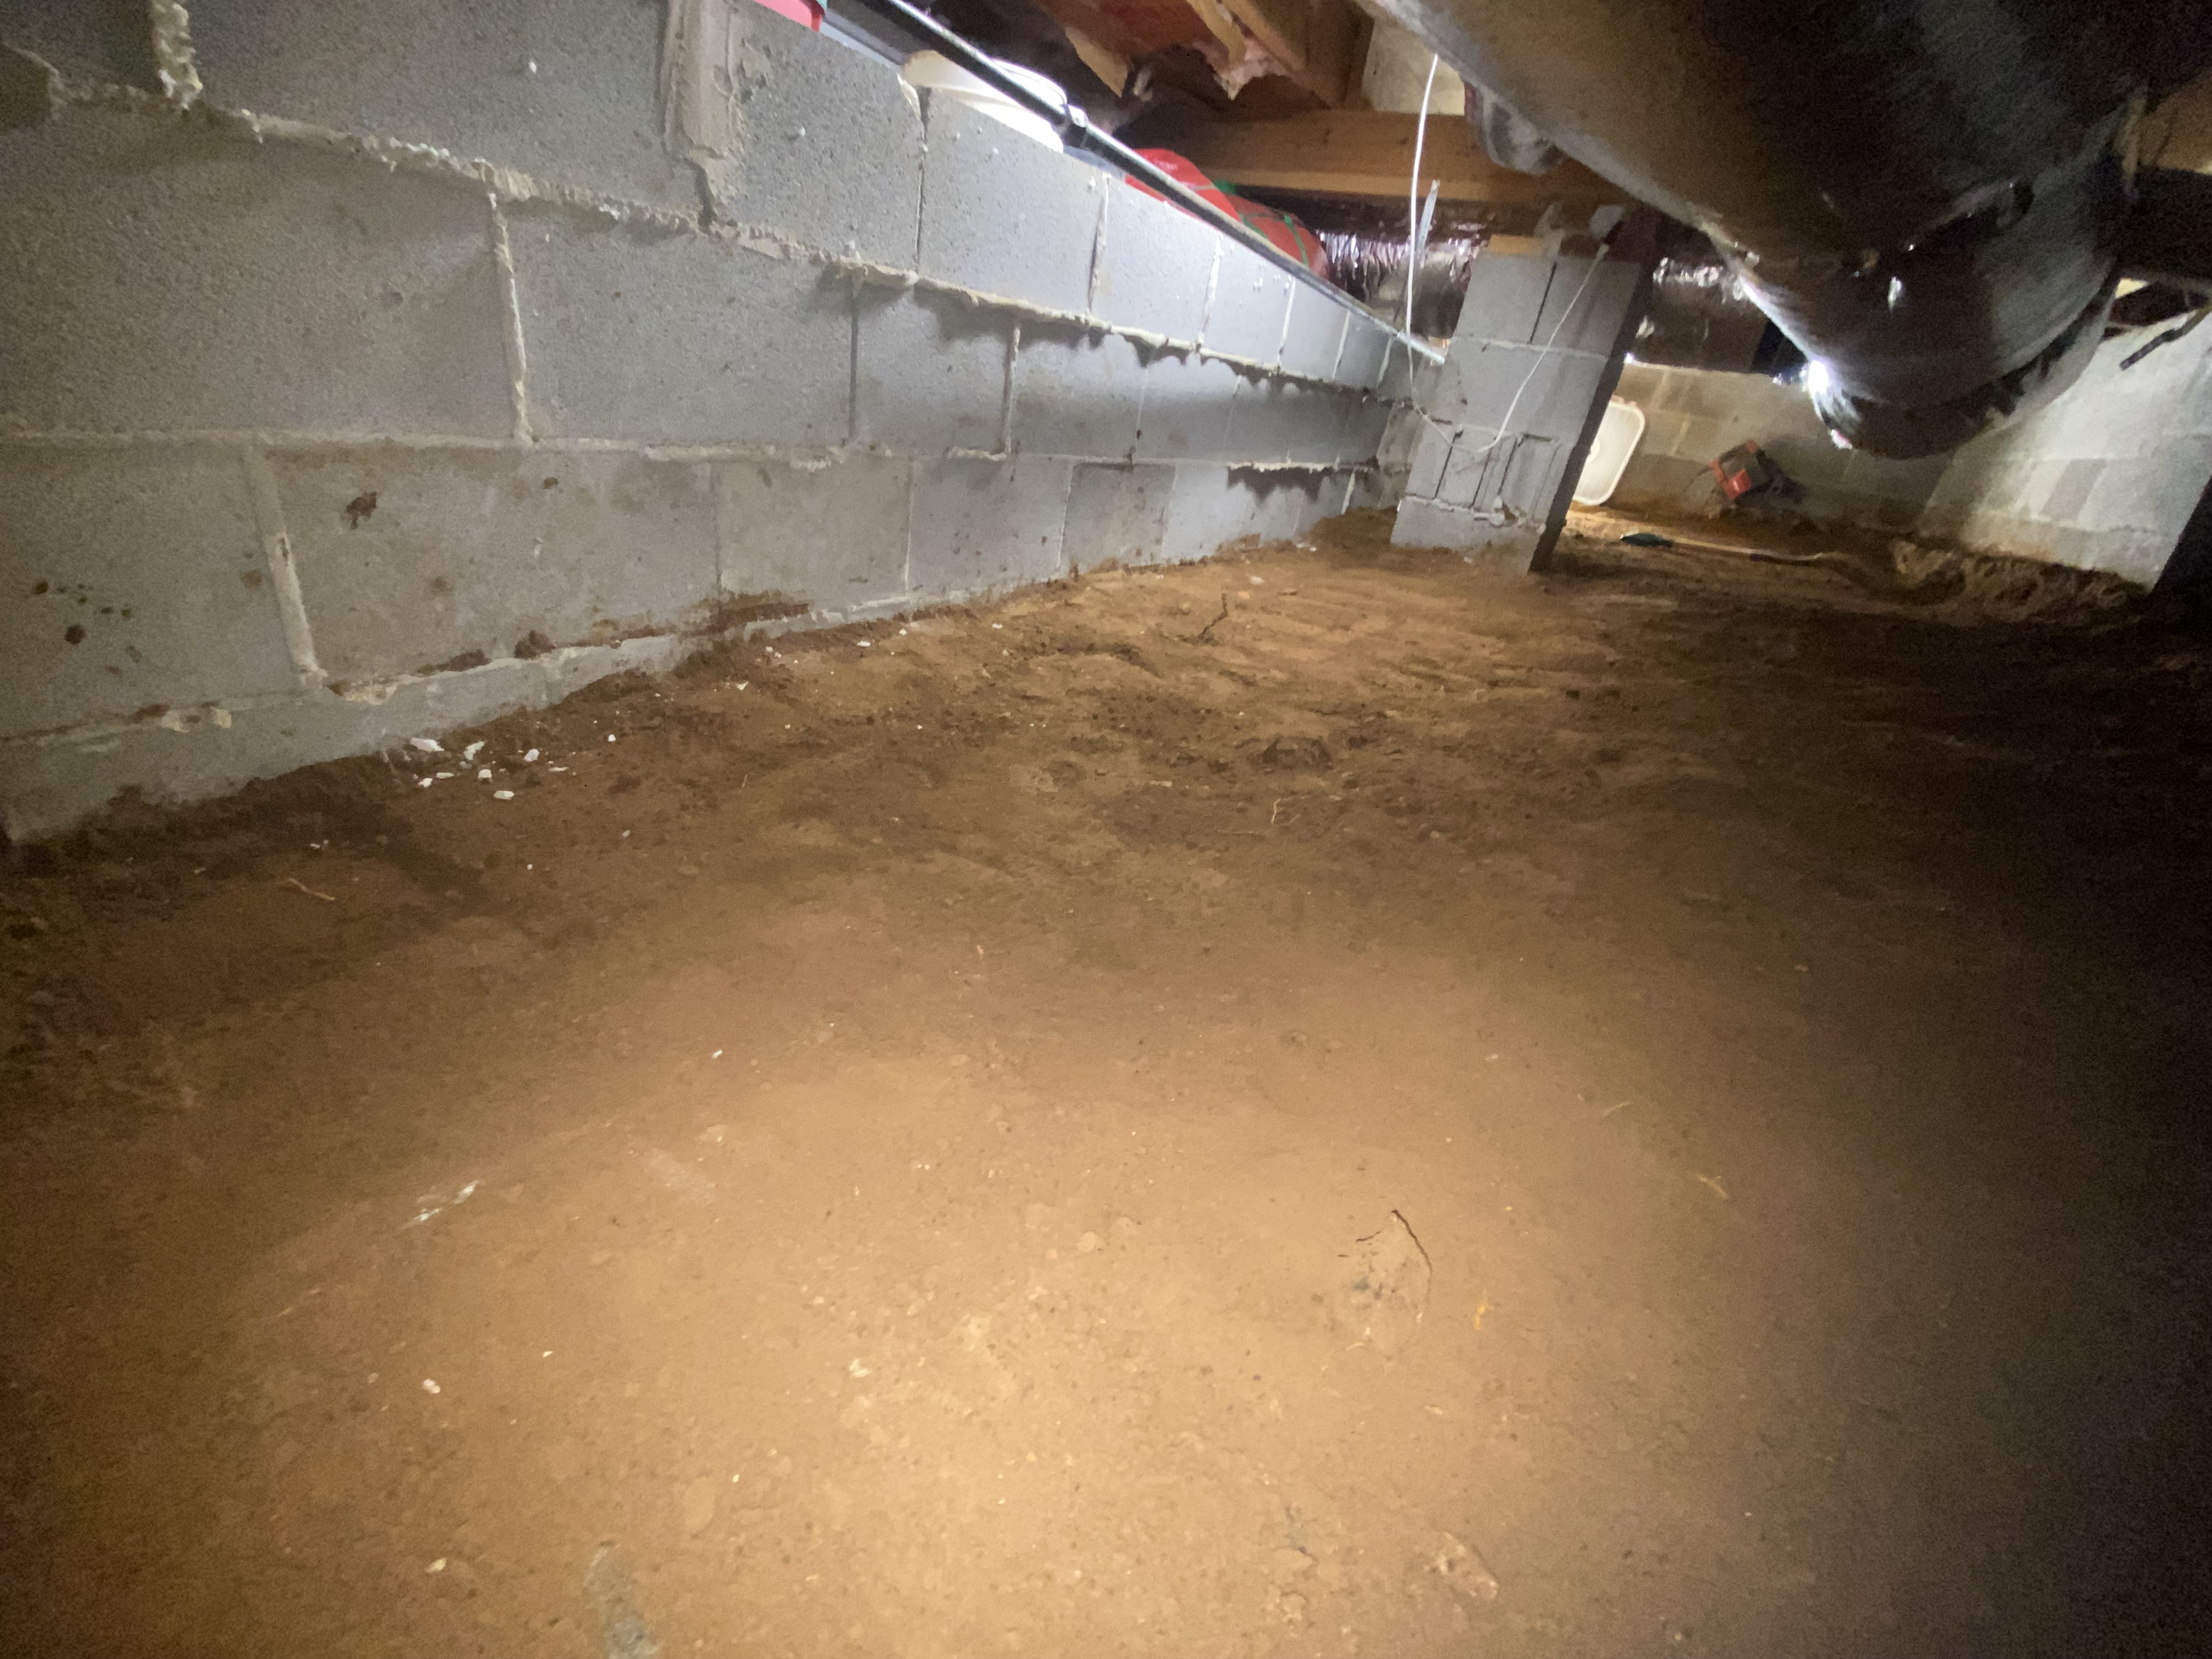
4. Encapsulate the Soil
- Install 10 mil (or greater) plastic over the exposed soil.
- The ends of the plastic should extend at least 6 inches up the stem wall and be fully sealed at the top.
- The seems should overlap at least 6 inches and be fully sealed.
5. Dehumidify
- Install a commercial grade dehumidifier that is appropriately sized for the space.
- The unit should be installed according to the manufacturers specifications.
- The drain piping should be installed according to the manufacturers specifications and local plumbing codes.
- Install a hygrometer in the crawlspace and place the digital reader inside the home so that the occupant(s) can monitor the humidity in the crawlspace.
6. Consider Upgrades
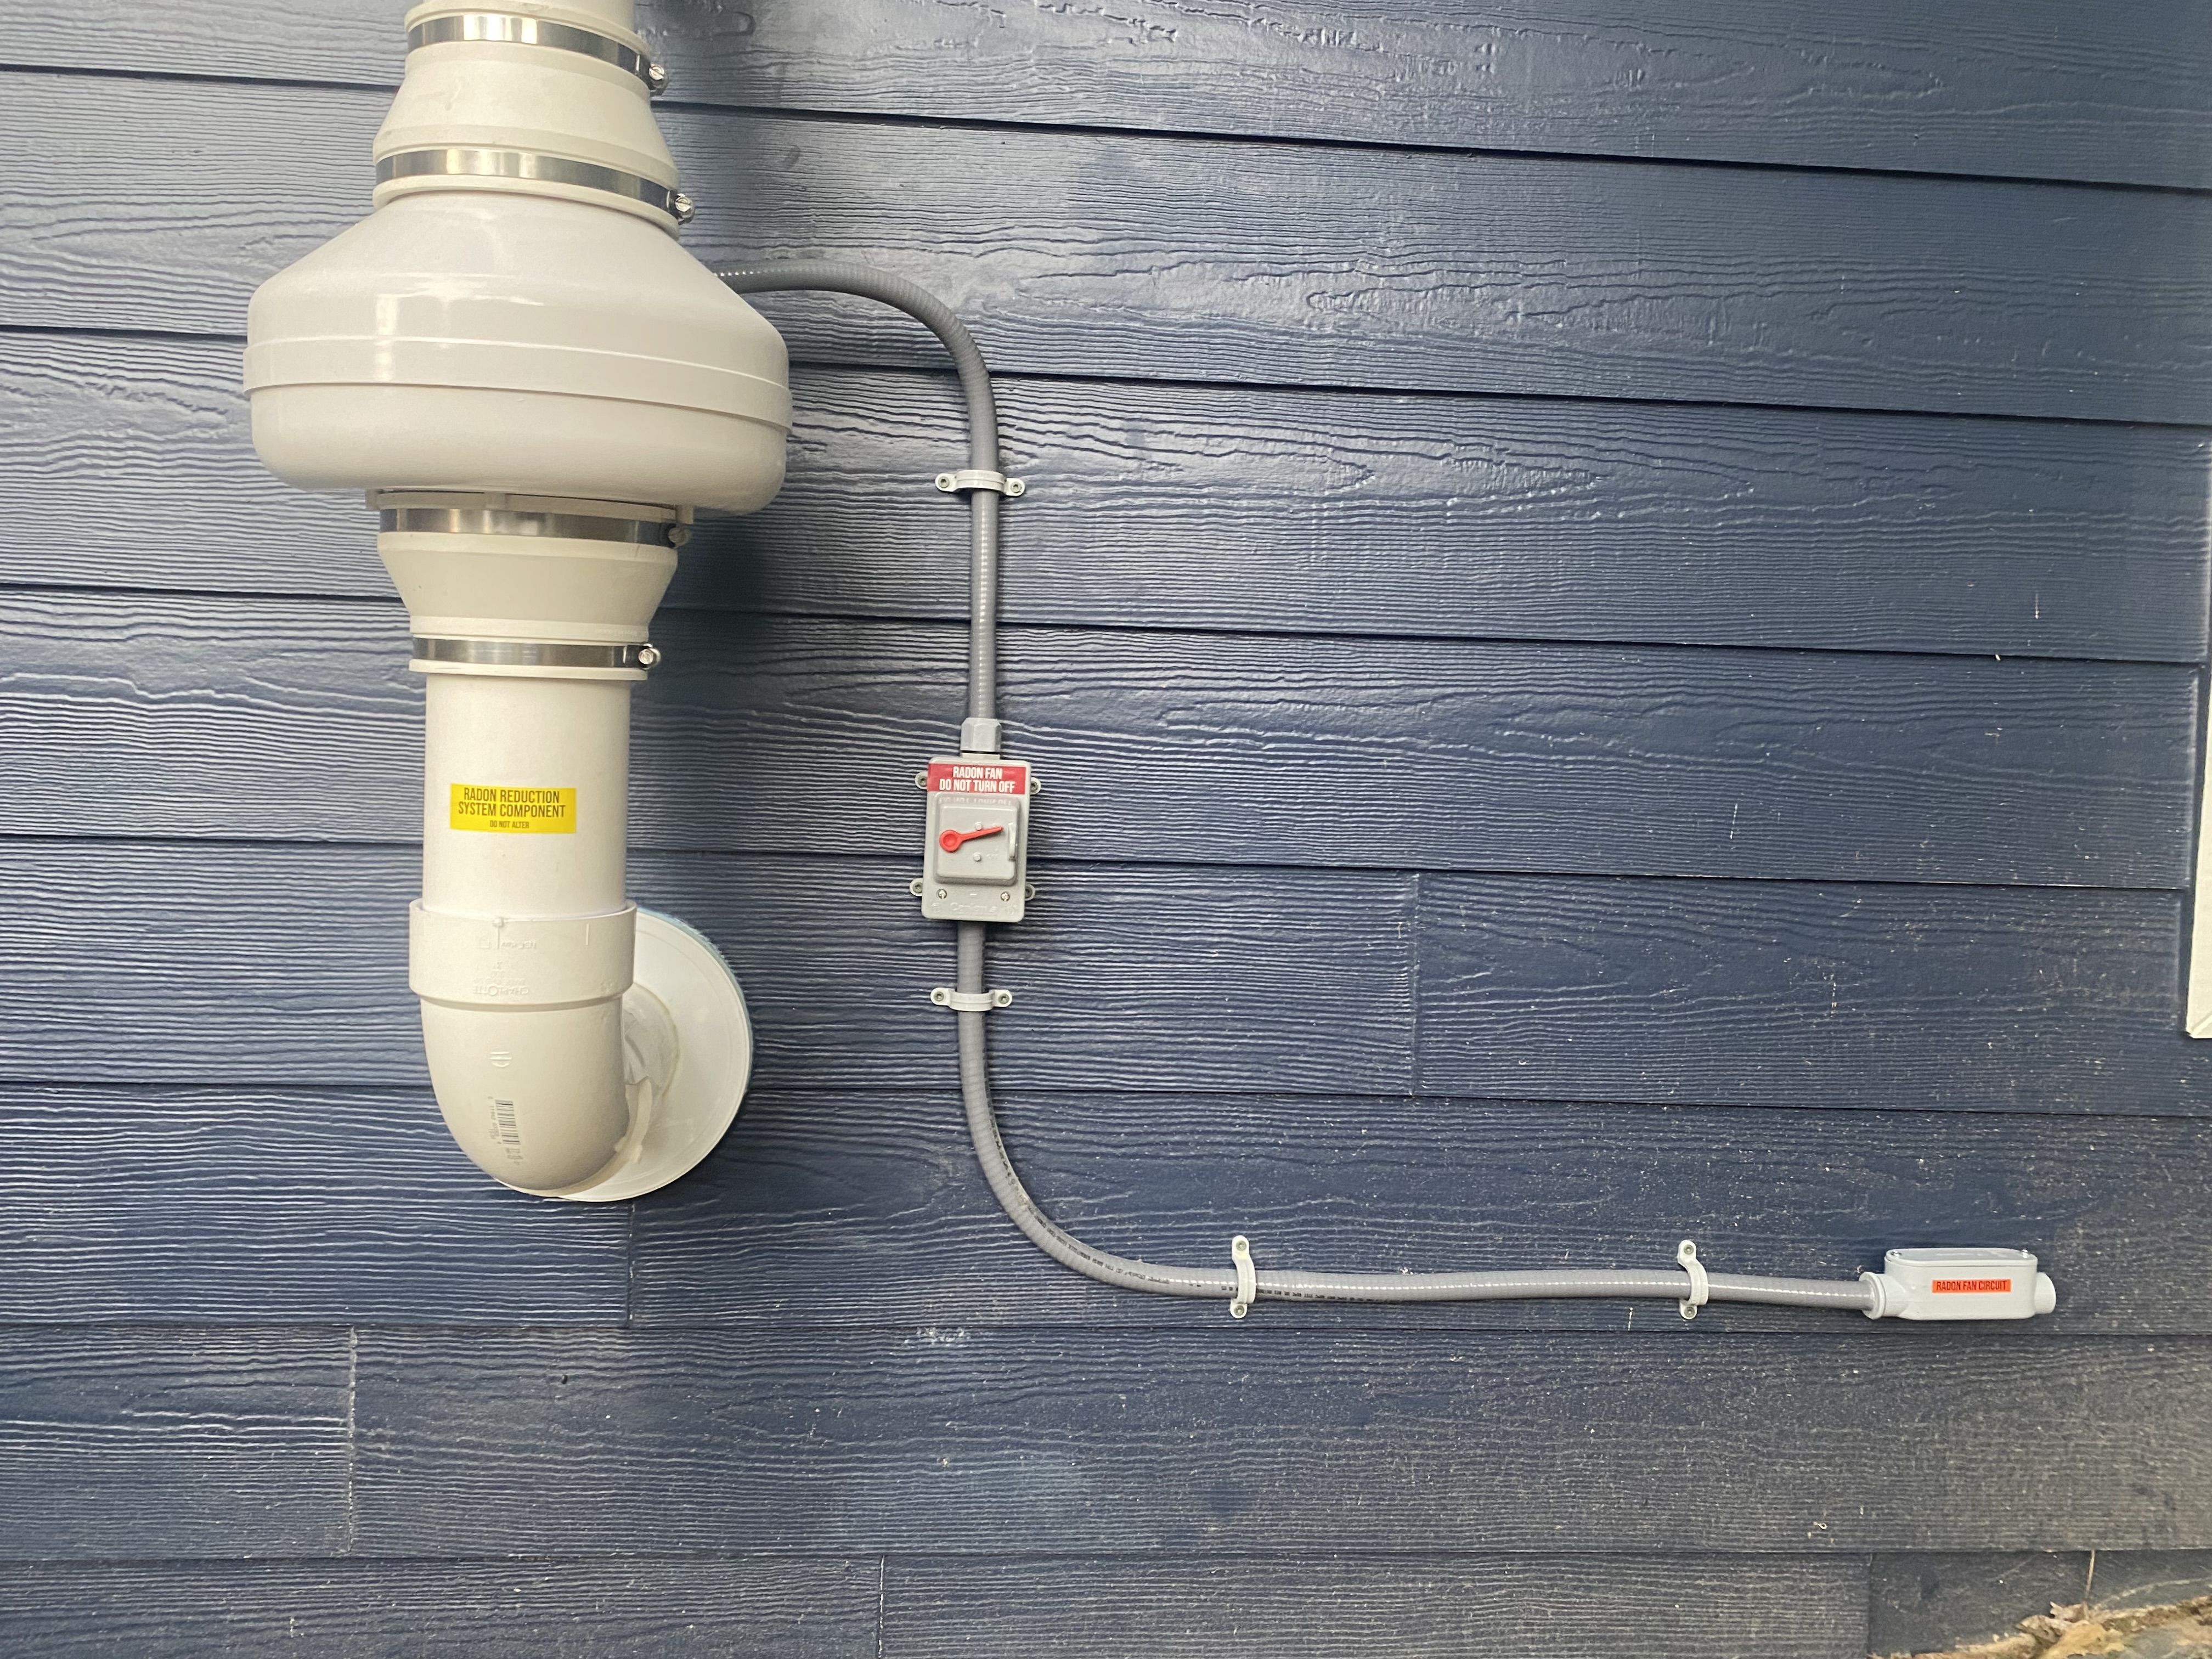
- Installing a sub-membrane depressurization fan can drastically improve the conditions inside of the home. The system will utilize a low-powered (energy efficient) fan to create suction below the membrane. This removes soil gasses (including radon) and moisture (humidity) from the space. This low-cost upgrade can have numerous benefits. We highly suggest considering having this component added to your project.
- According to the International Residential Code, encapsulated crawlspaces should have insulation on the foundation walls. Although this is required by code standard, in our experience, we do not see a drastic need for foundation wall insulation in our climate. Energy benefits will likely be minimal and we have rarely witnessed any negative effects caused by the lack of insulation on the foundation walls in our climate. The rim boards are the most critical area to have insulated, which is why that component is factored into our blueprint. Nonetheless, we want our clients to be equipped with the knowledge so that they can make the decision on their own. We can add the cost of foundation wall insulation to the project if the client wishes to do so.